
Laundry Room Revamp
Phew!
The laundry room is finished, and just in time!
If you’ve been following along you know that we just bought our second house here in Austin, and plan to move next month. Our current home has been through a lot of changes in the 2.5 years that we’ve lived in it, but Jackson and I are on “get the house ready to put on the market” mode, which means a few little updates to the untouched upstairs portion of the house.
When we bought this house, the laundry room was dark and dingy. The space felt so tight so I was usually in and out of there as quickly as possible. Naturally things piled up on the countertop that I wouldn’t dare use to actually fold laundry.
I made it my goal to make this room feel brighter, larger, and more welcoming. GOAL ACHIEVED.
Here is how we did it:
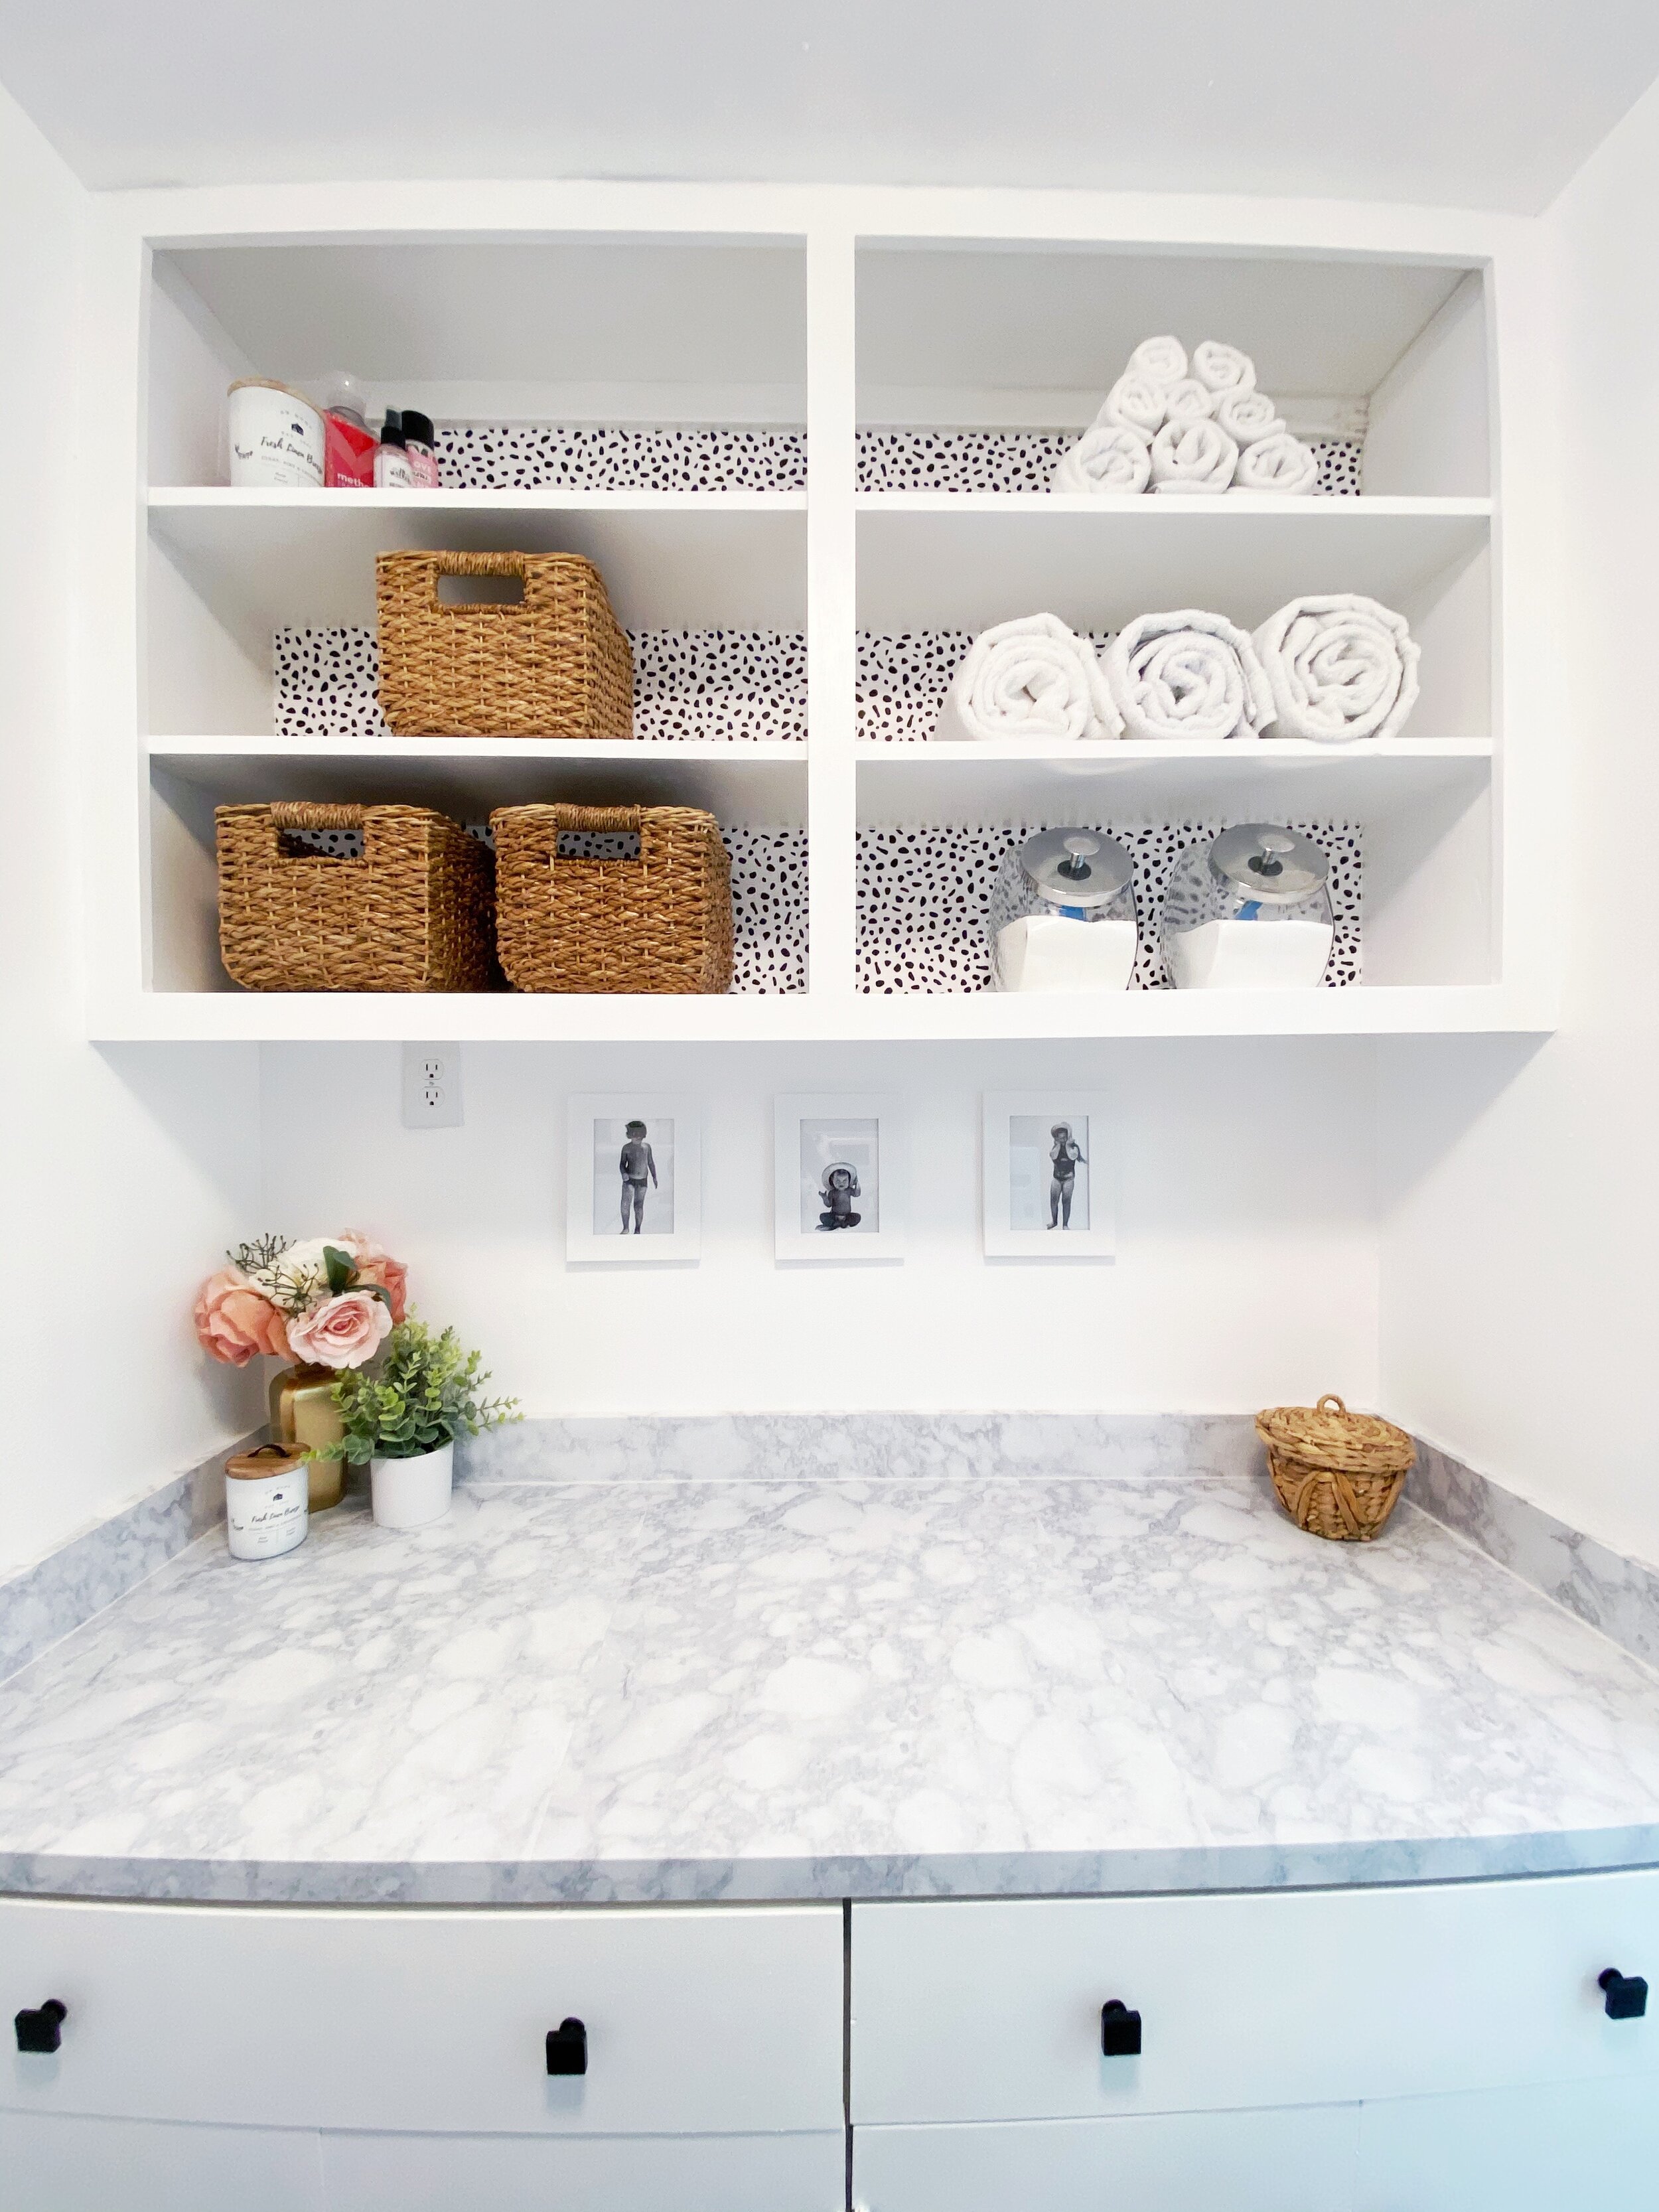
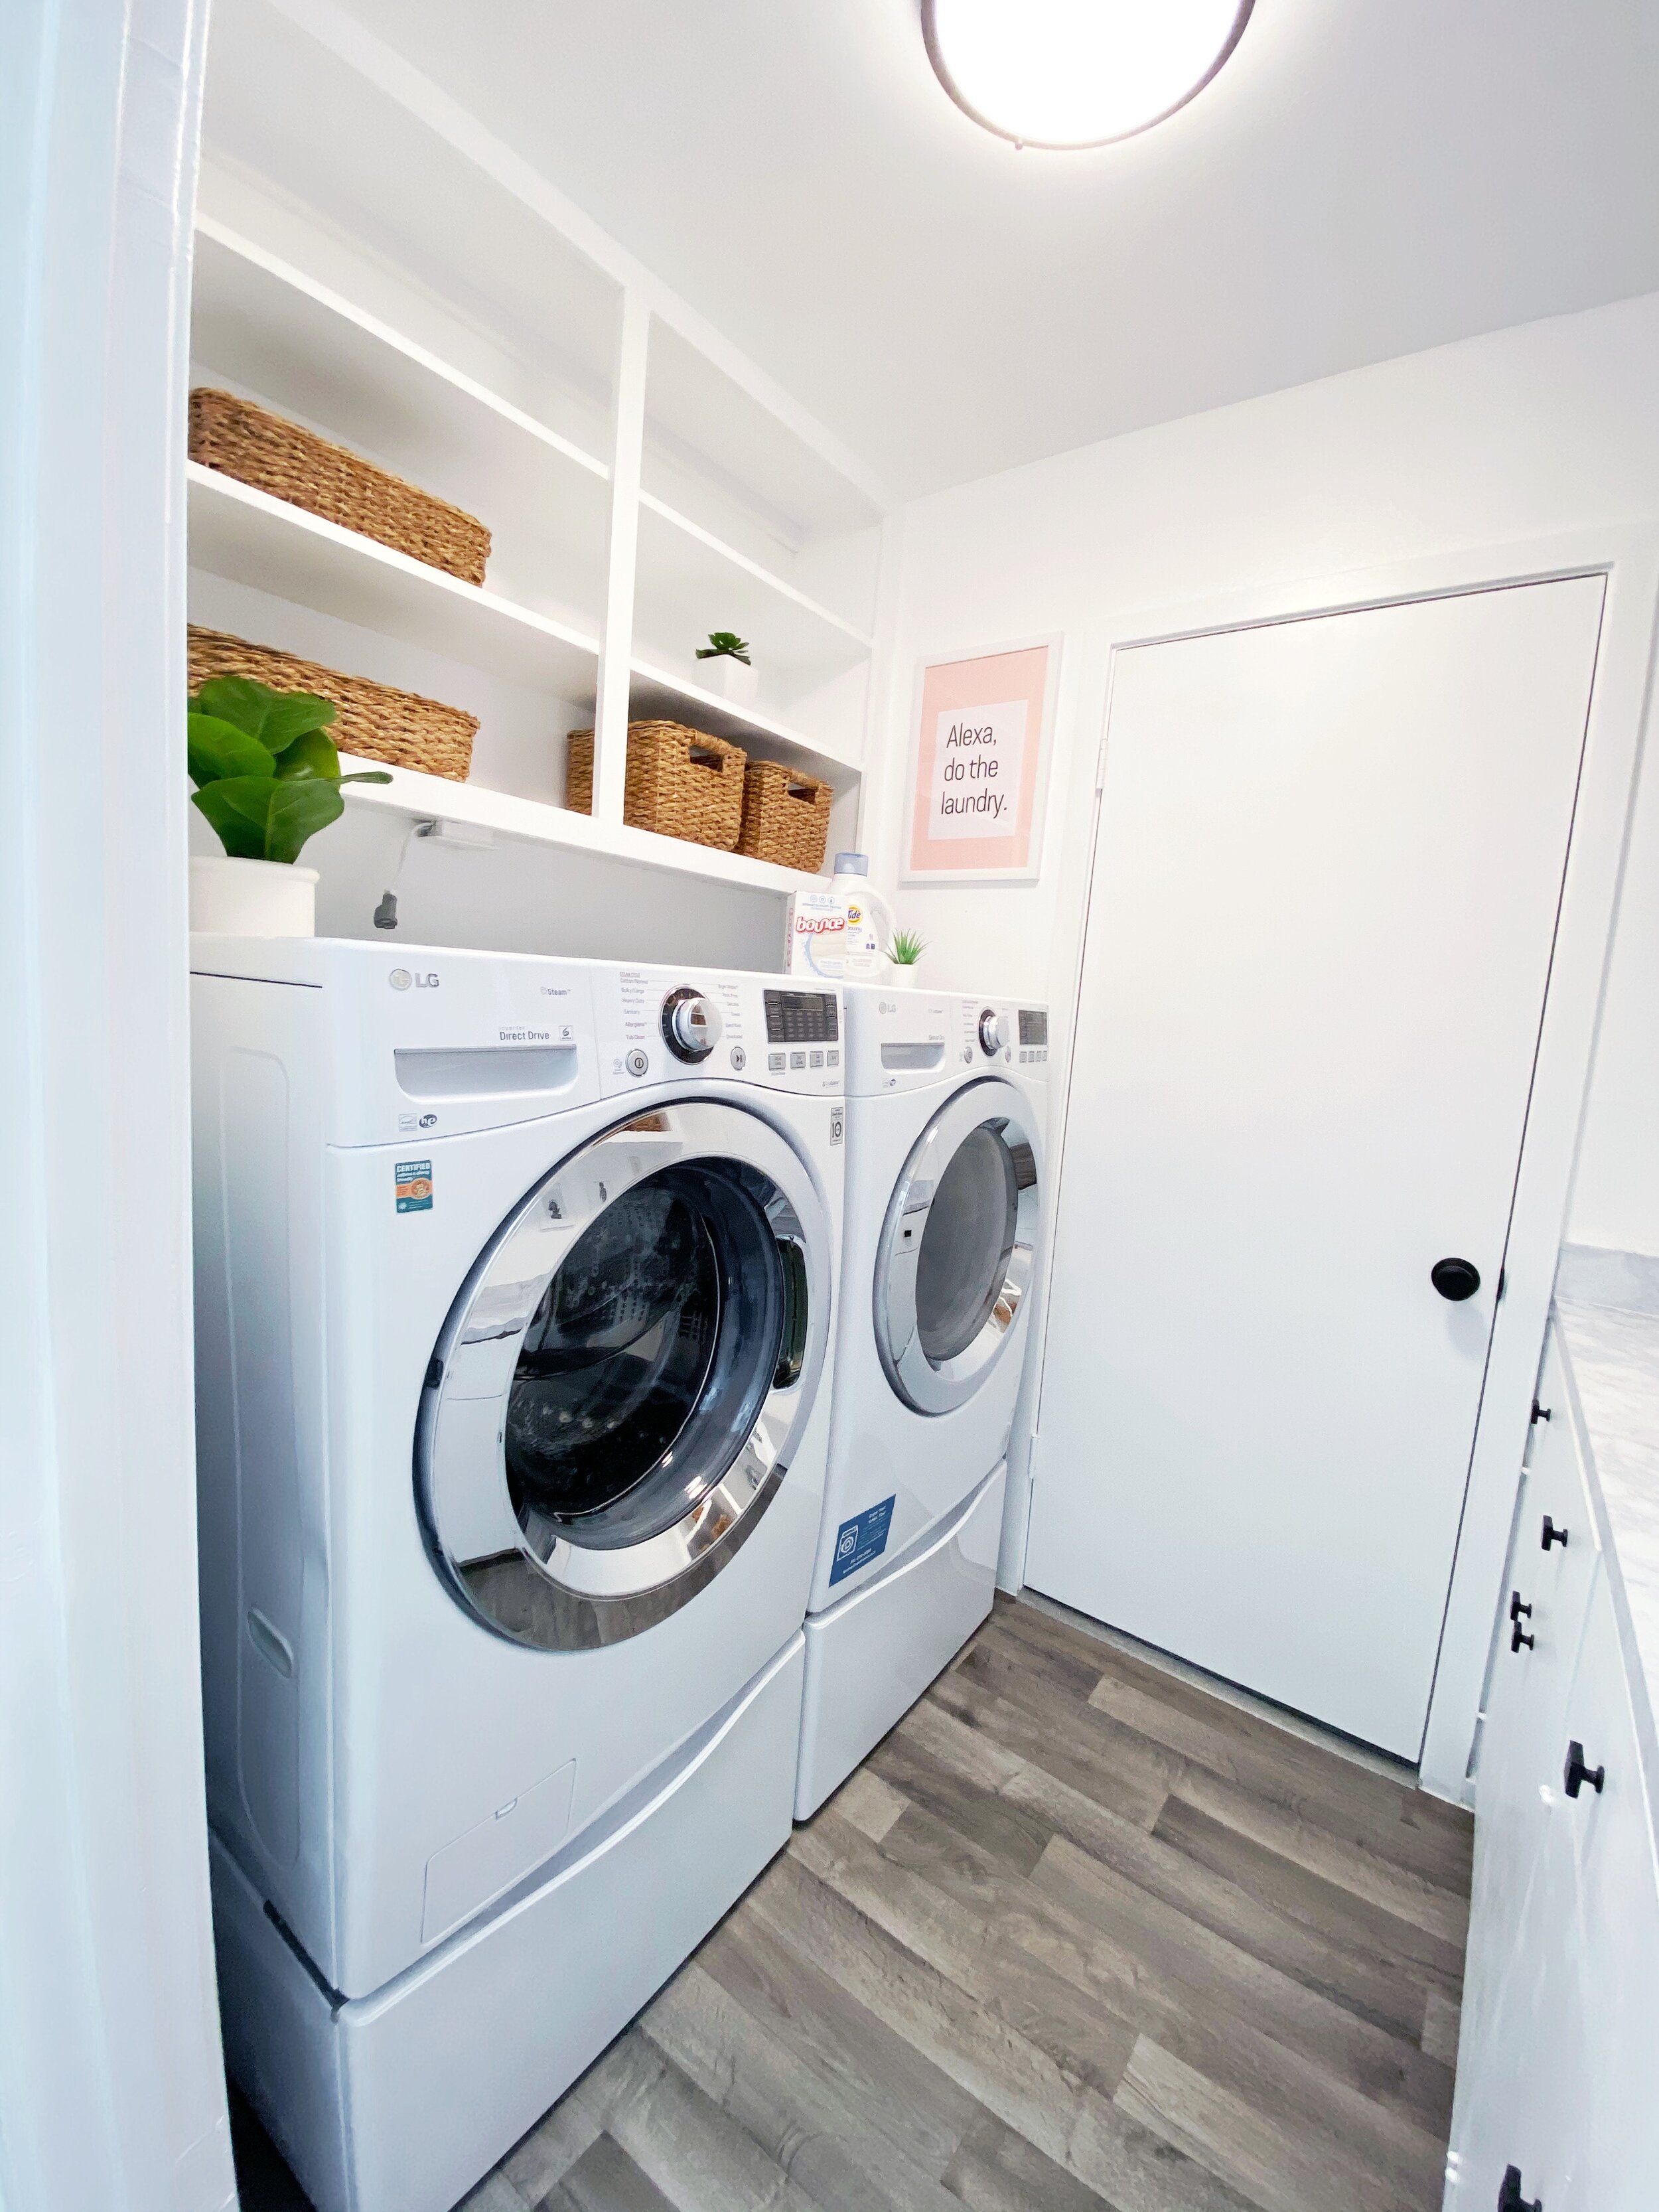
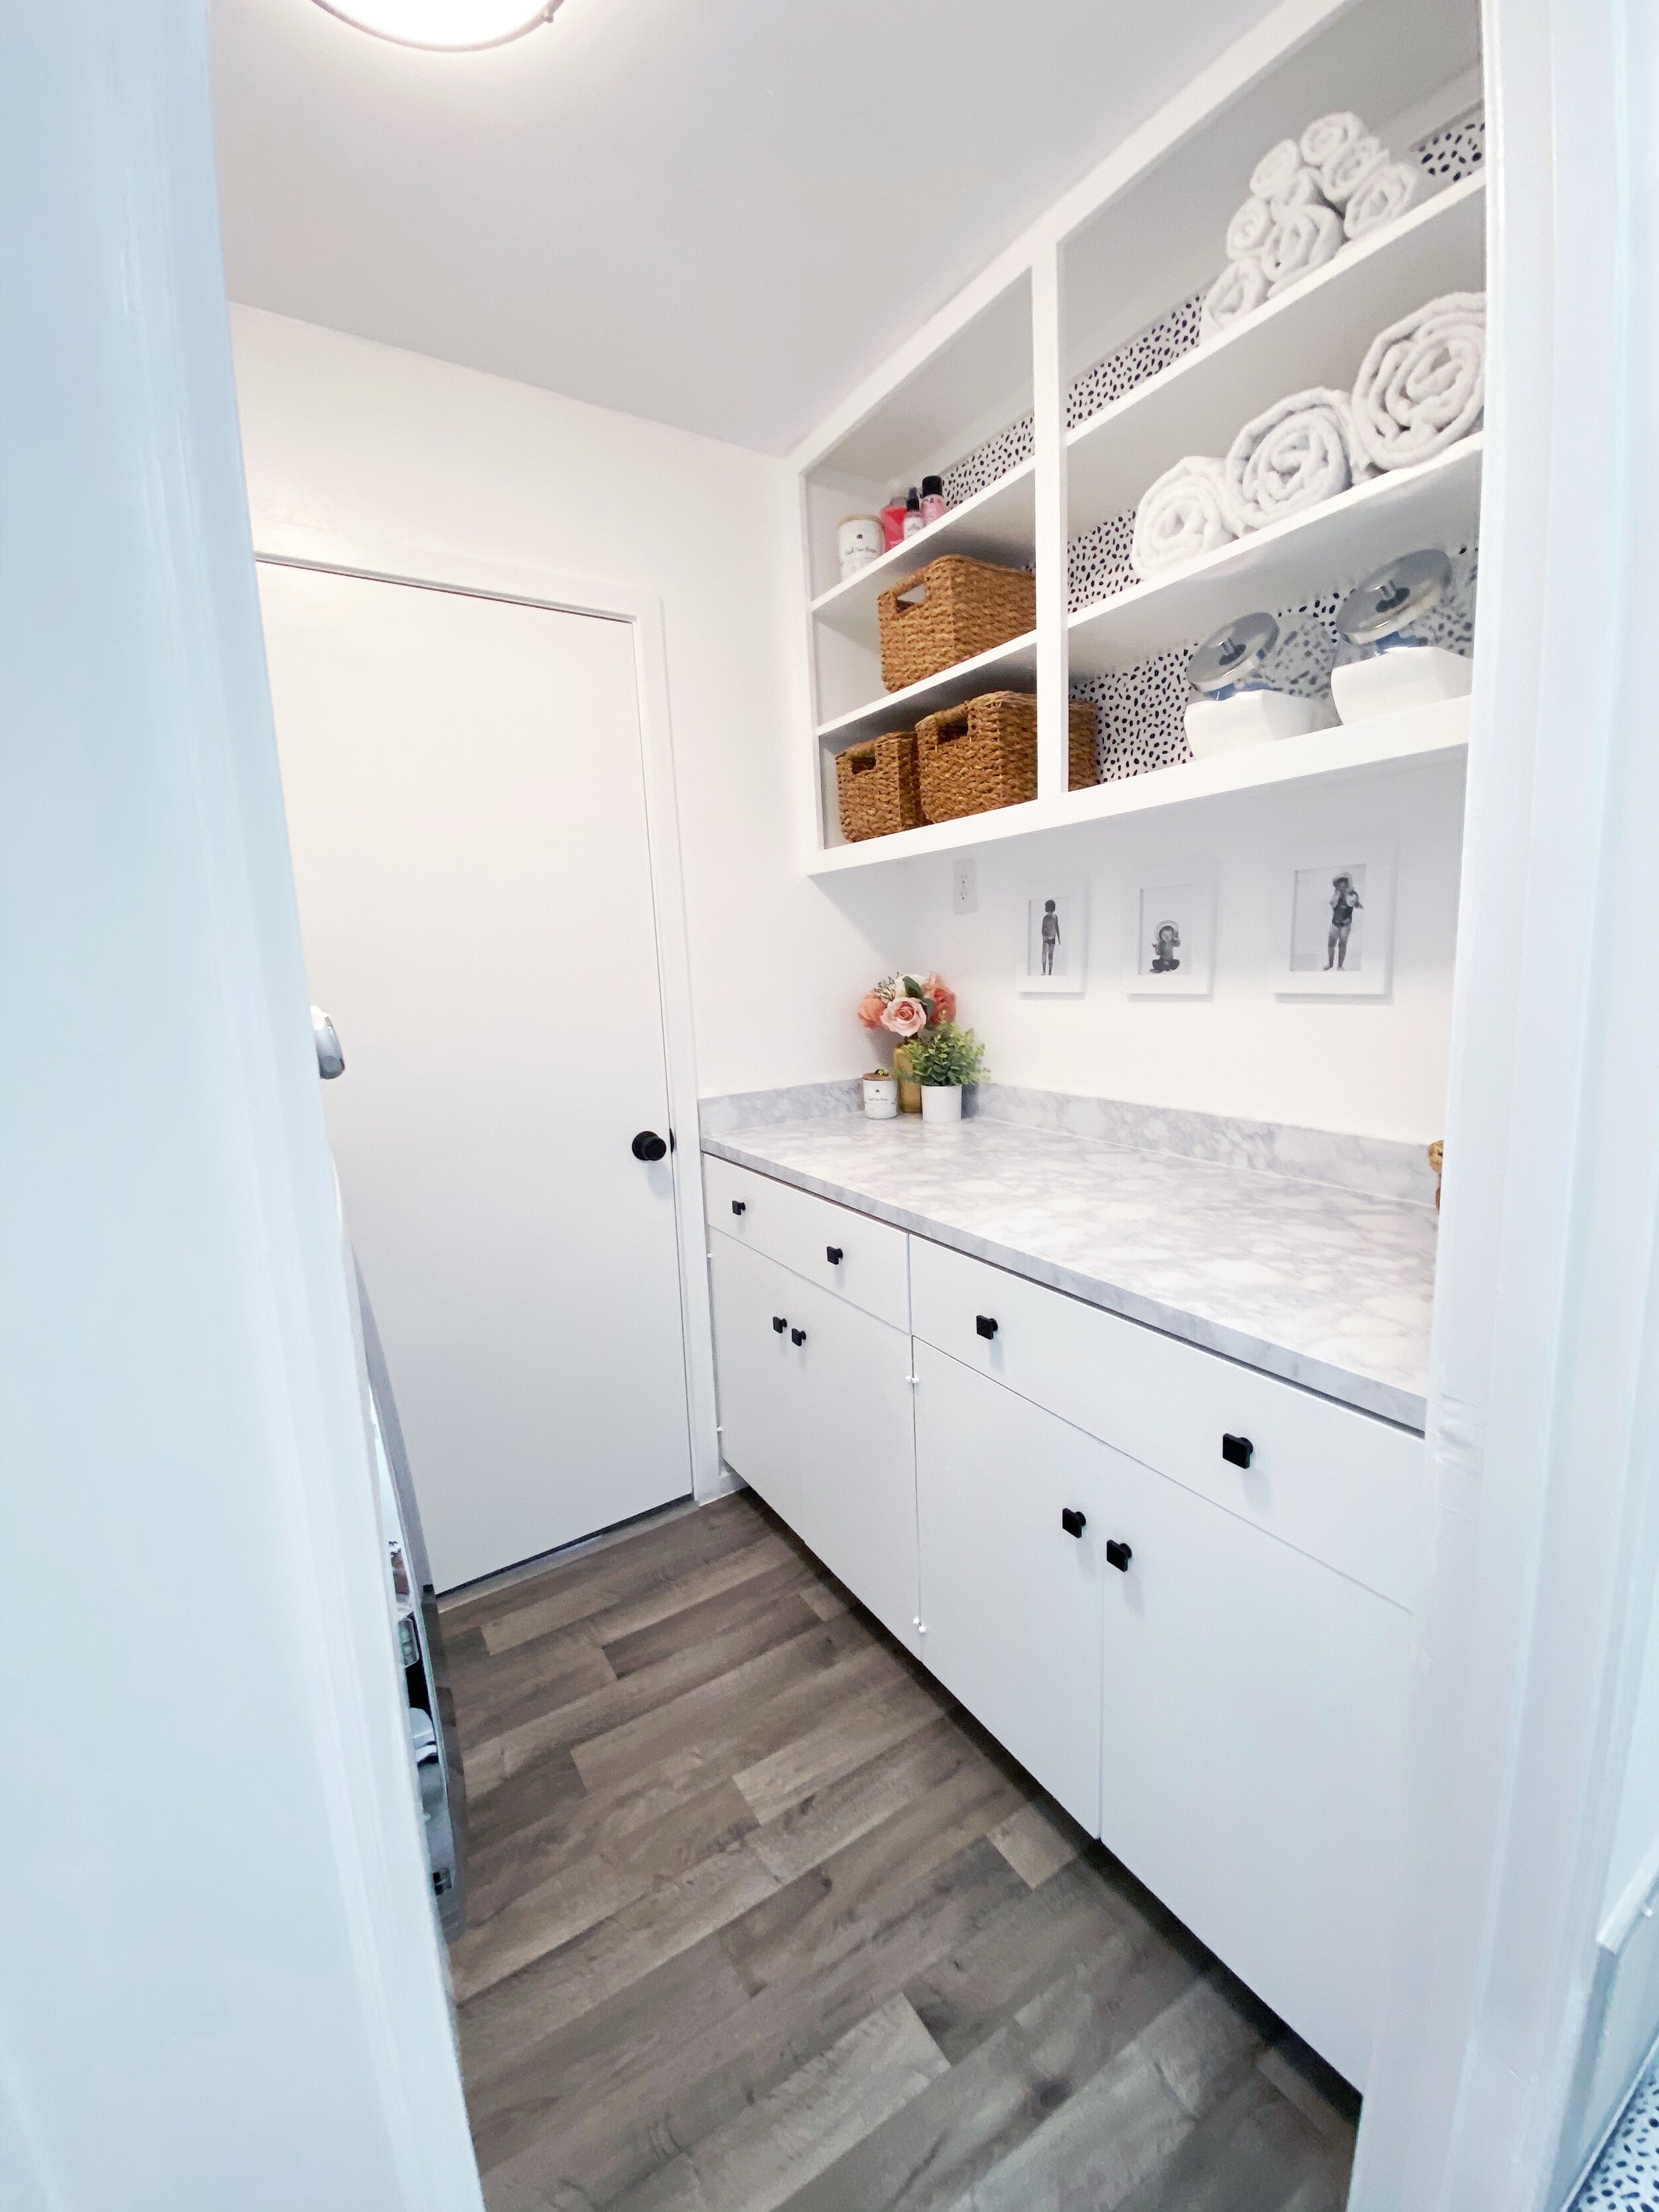
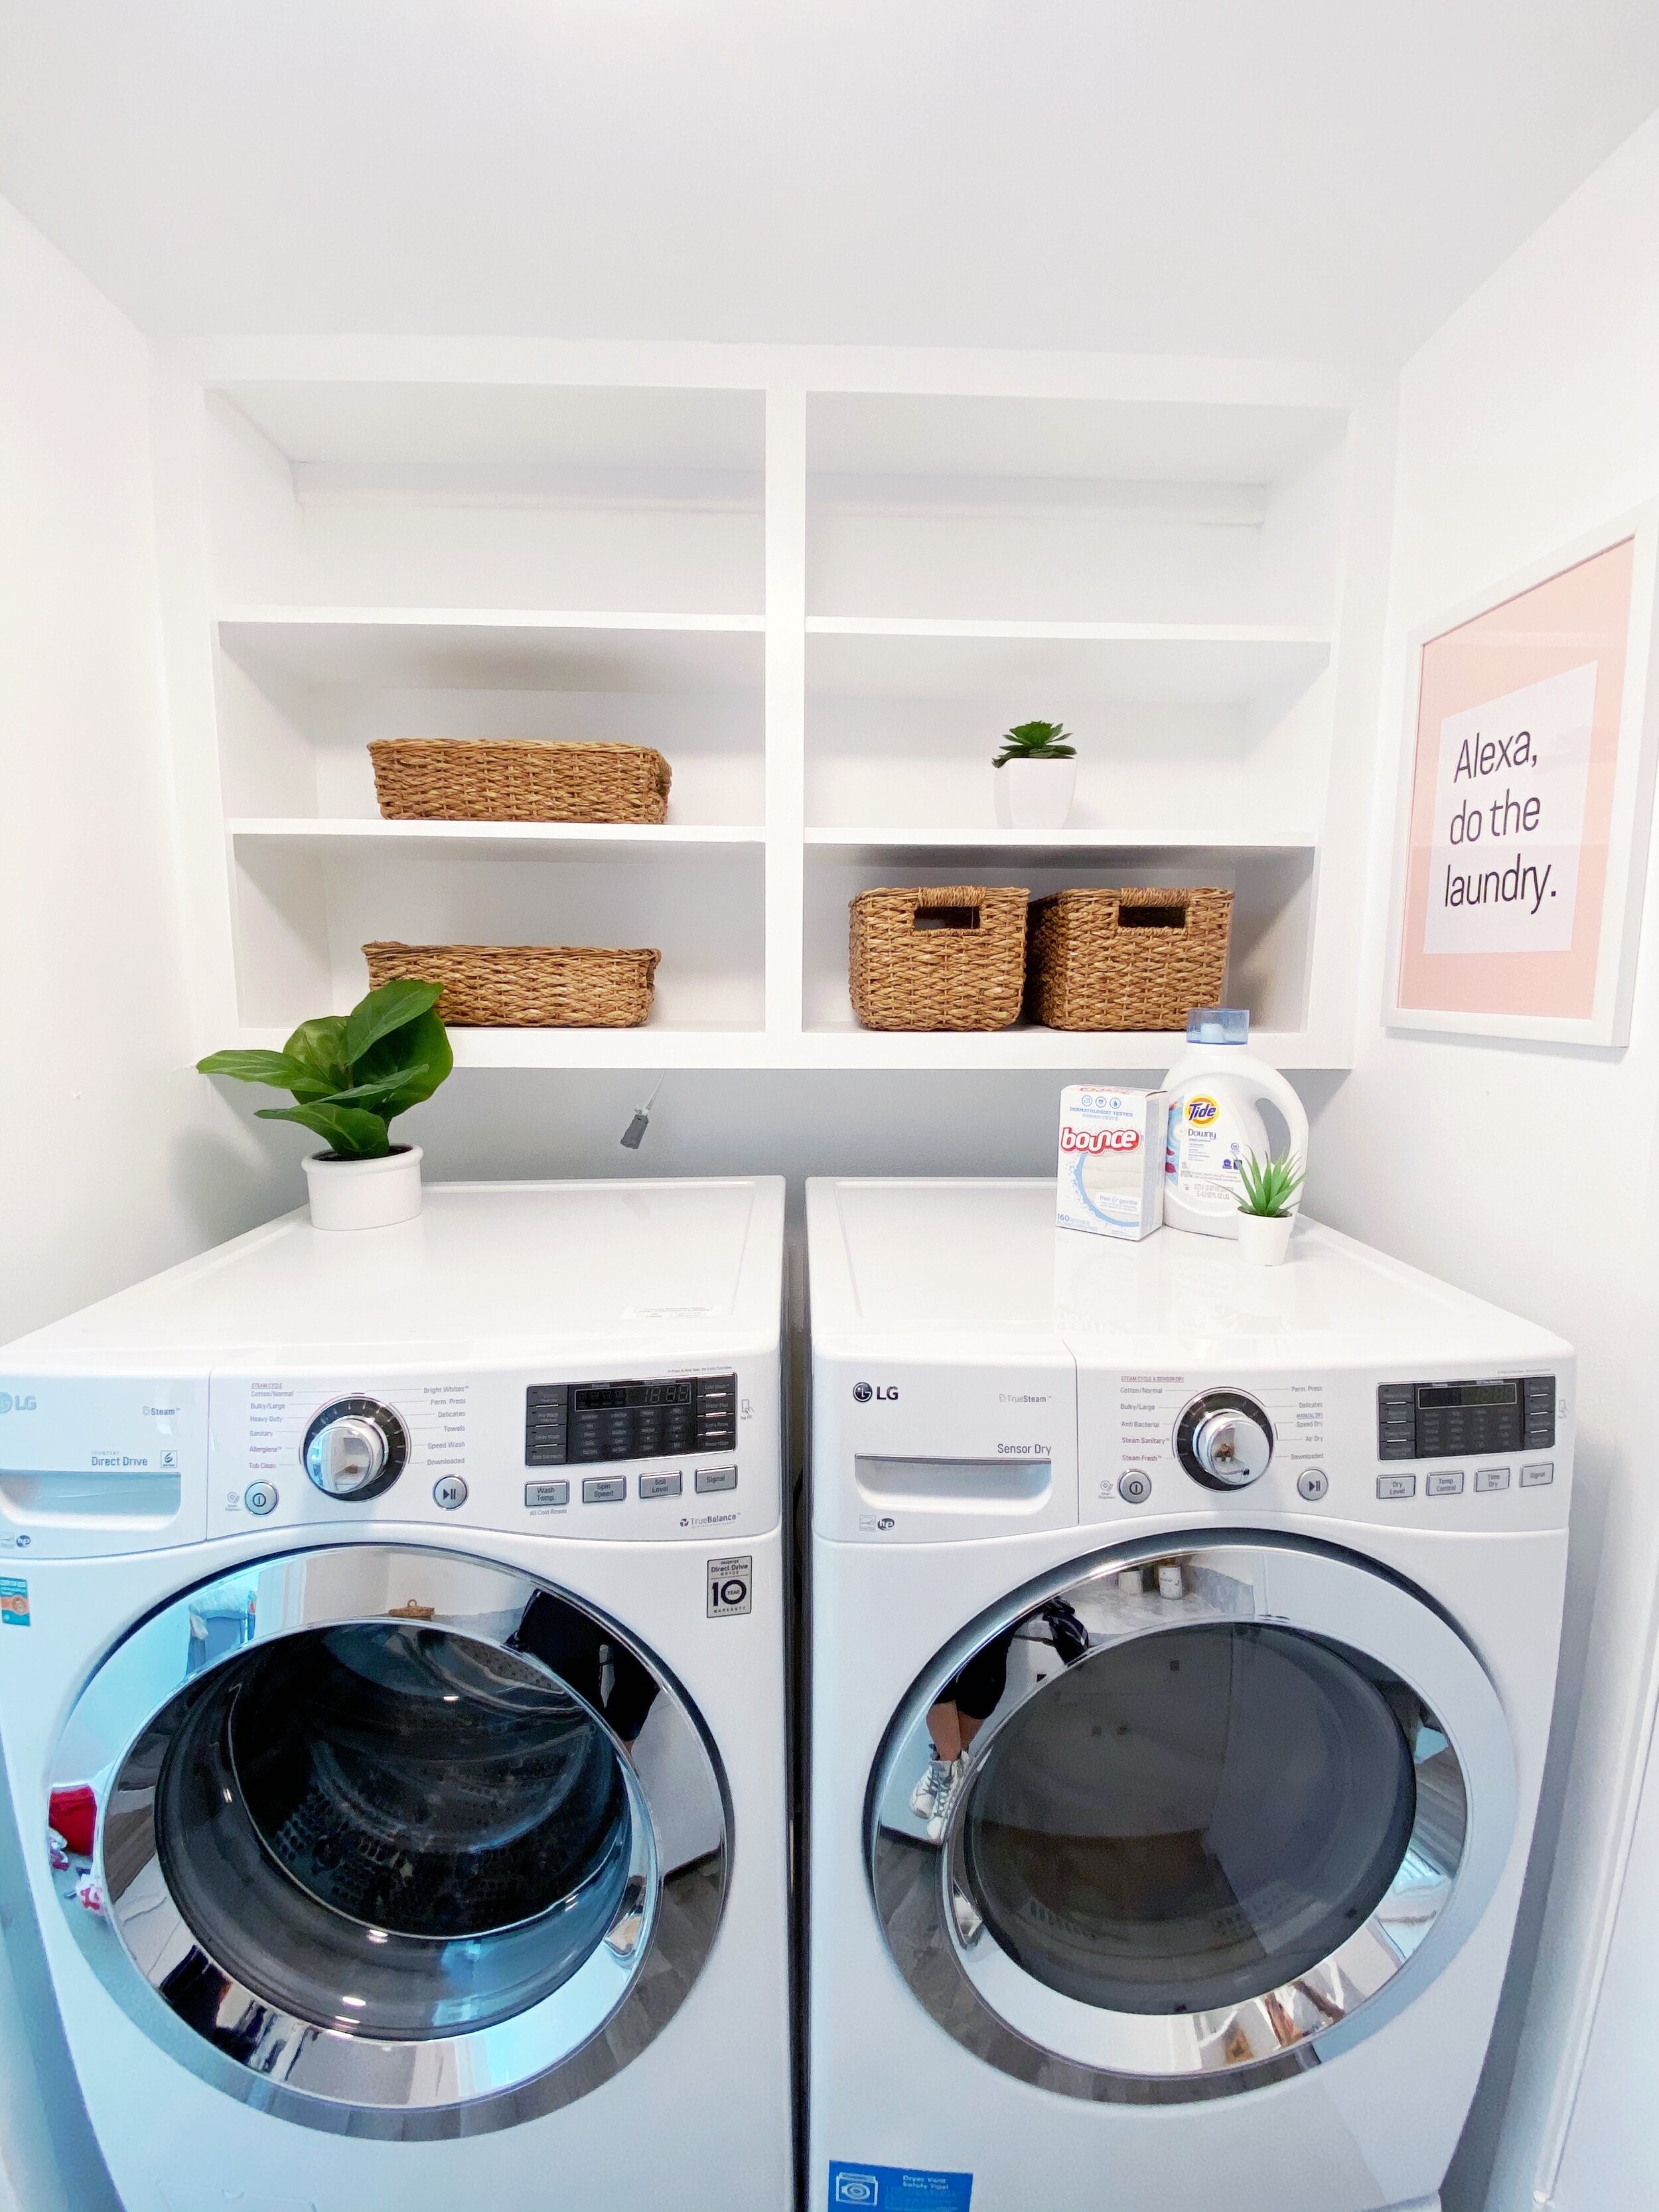
The first thing we did was take all of the cabinet fronts off of the top built-ins to create open shelving. This opened everything up and made the space feel larger immediately. We also removed the awkward entry door (and replaced with a sliding barn door) because it opened into / blocking the hallway completely.
Then it was time for paint.
Now this room was beige. I mean BEIGE BEIGE. Like beige walls, beige cabinets, beige floors, BEIGE BEIGE BEIGE BEIGE OMG WHY SO MUCH BEIGE????
Forget about it. Every single inch of the room was painted white and WOW, I'm always in awe at the difference some white paint can make.
The doors got new hardware, and the brown laminate countertops got a contact paper makeover.
We added a pop of pattern with wallpaper and it was magic.
The last piece of the puzzle was the flooring. We took a page out of Our Faux Farmhouse’s book and covered the vinyl tile floors with a roll of wood look sheet vinyl. This was ridiculously inexpensive, and insanely easy to install (and i’m honestly mad at myself for not doing it sooner).
The room is now beautiful and I wish I would have pushed myself to do this when we moved in so I could have enjoyed it longer. Hopefully this inspires you to tackle that DIY project you’ve been putting off.
Check out the pictures below and get to work! (Scroll down for before shots)

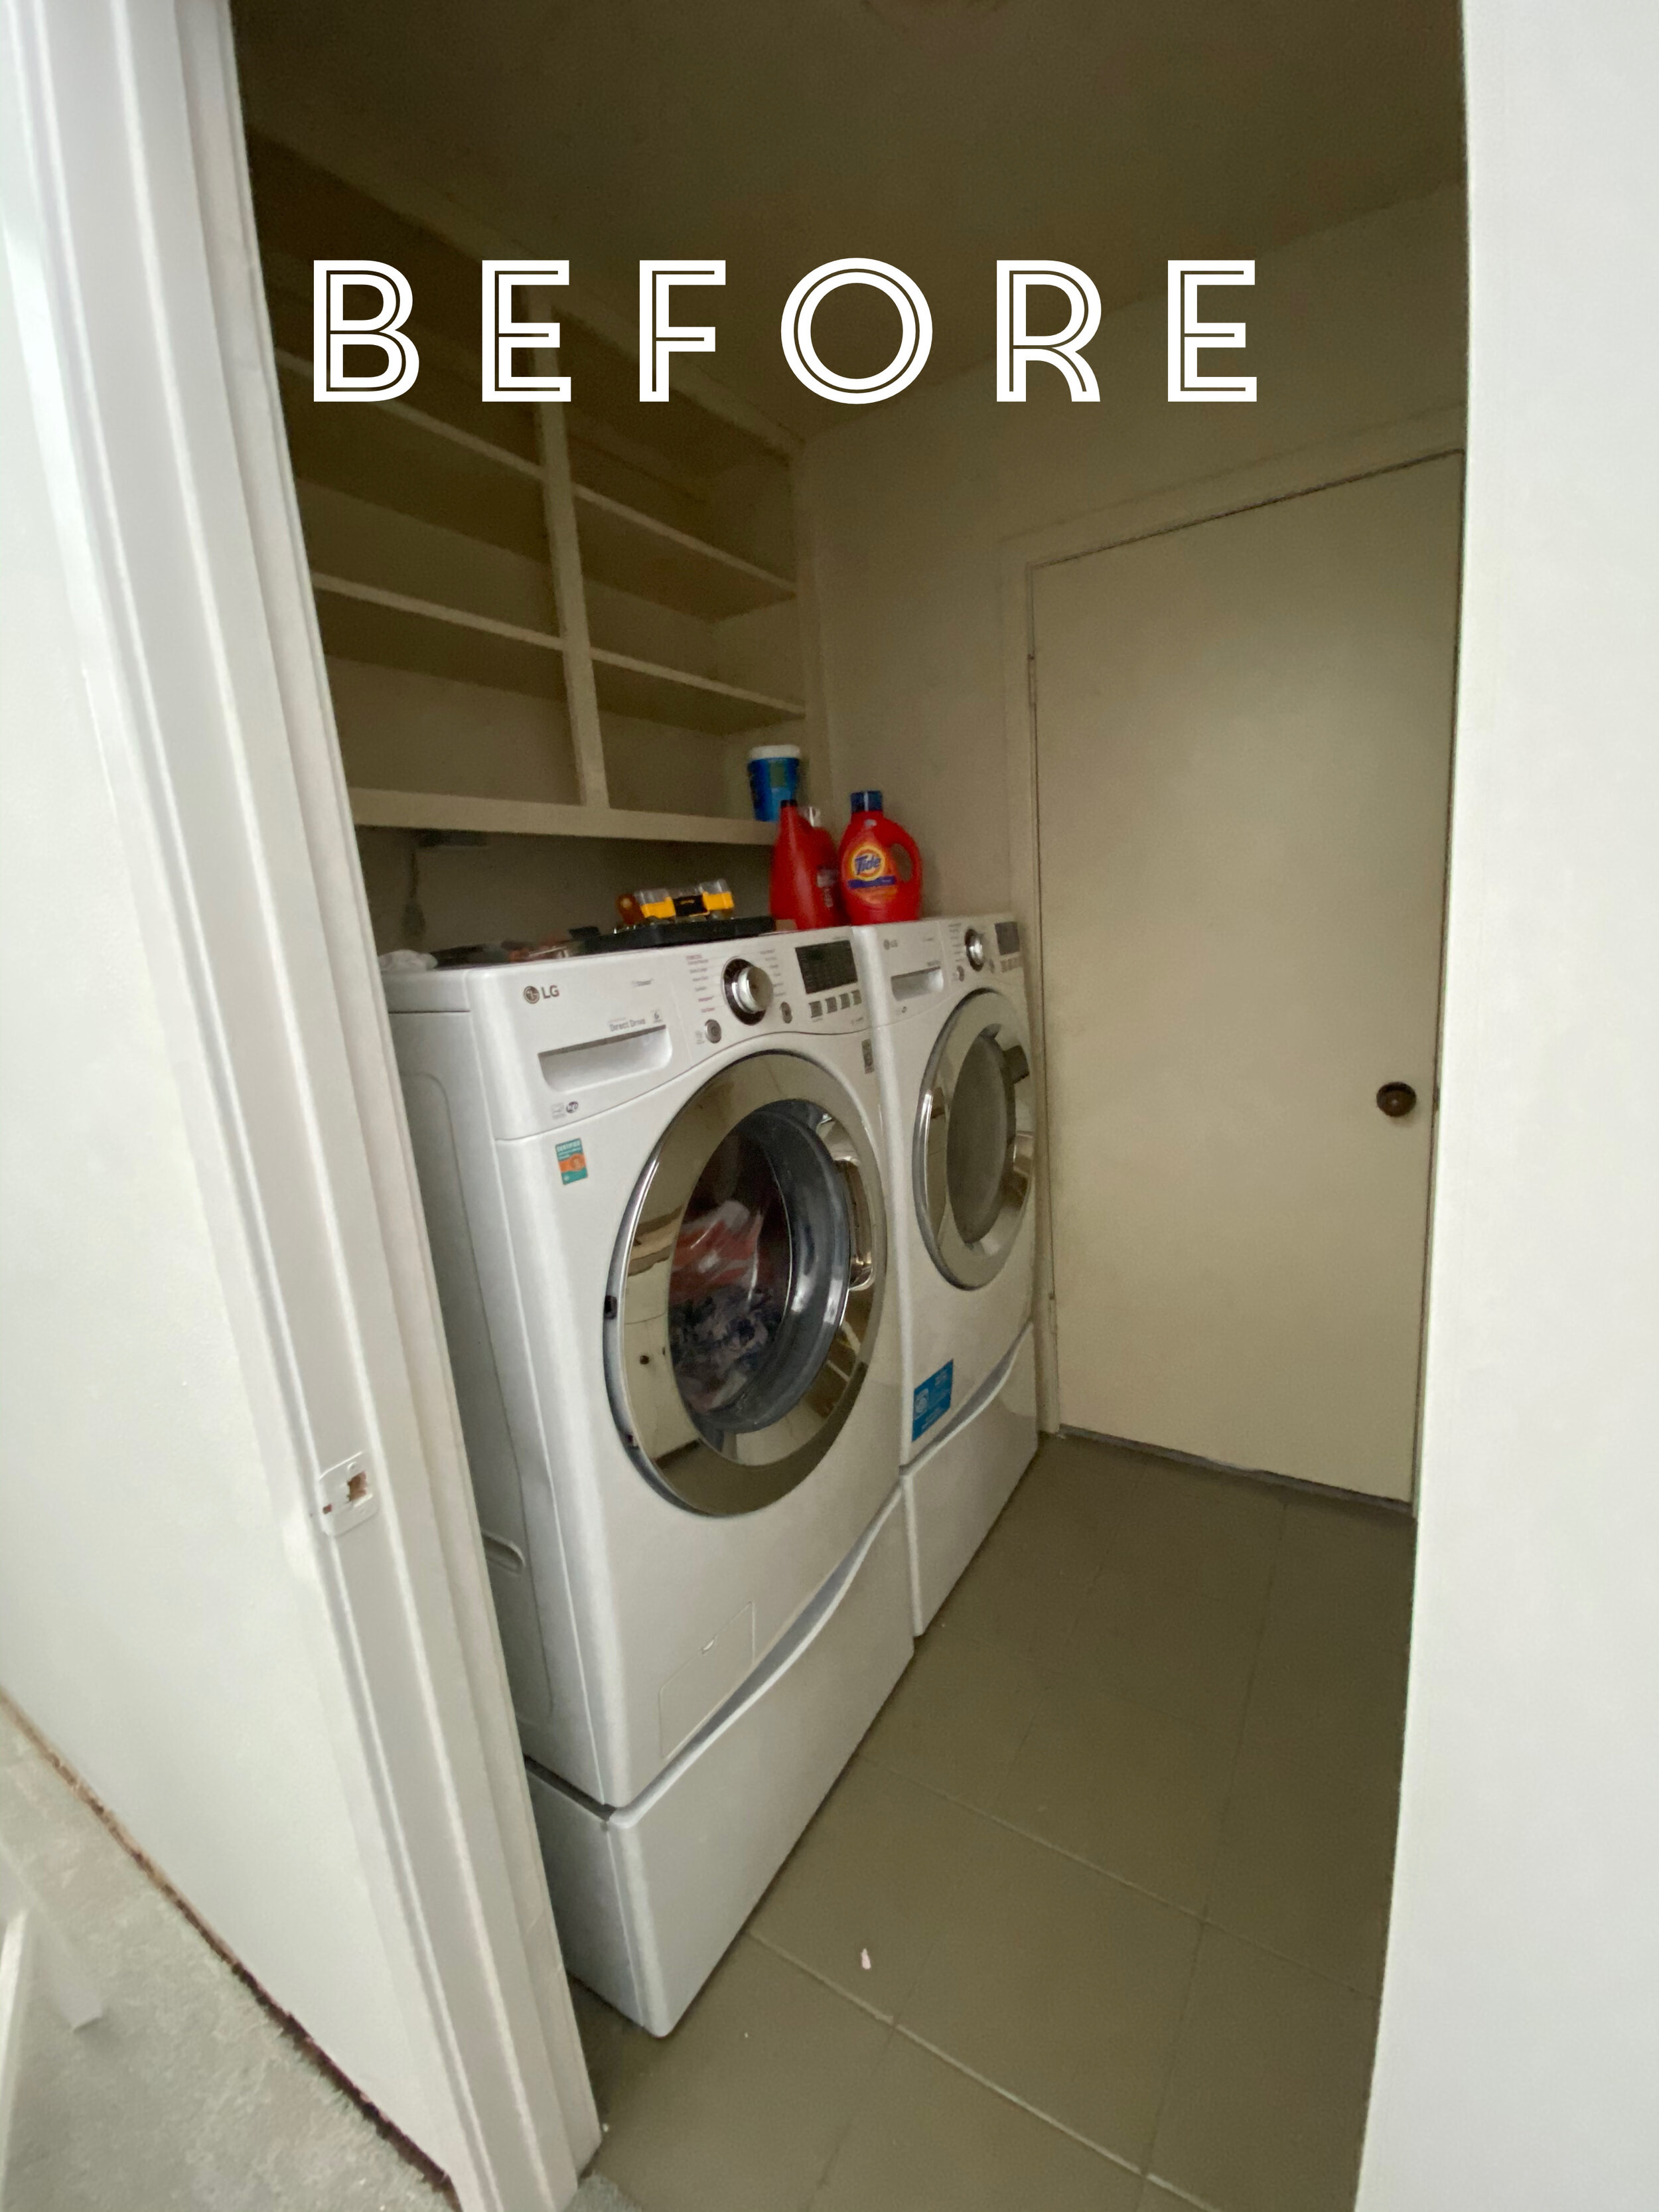
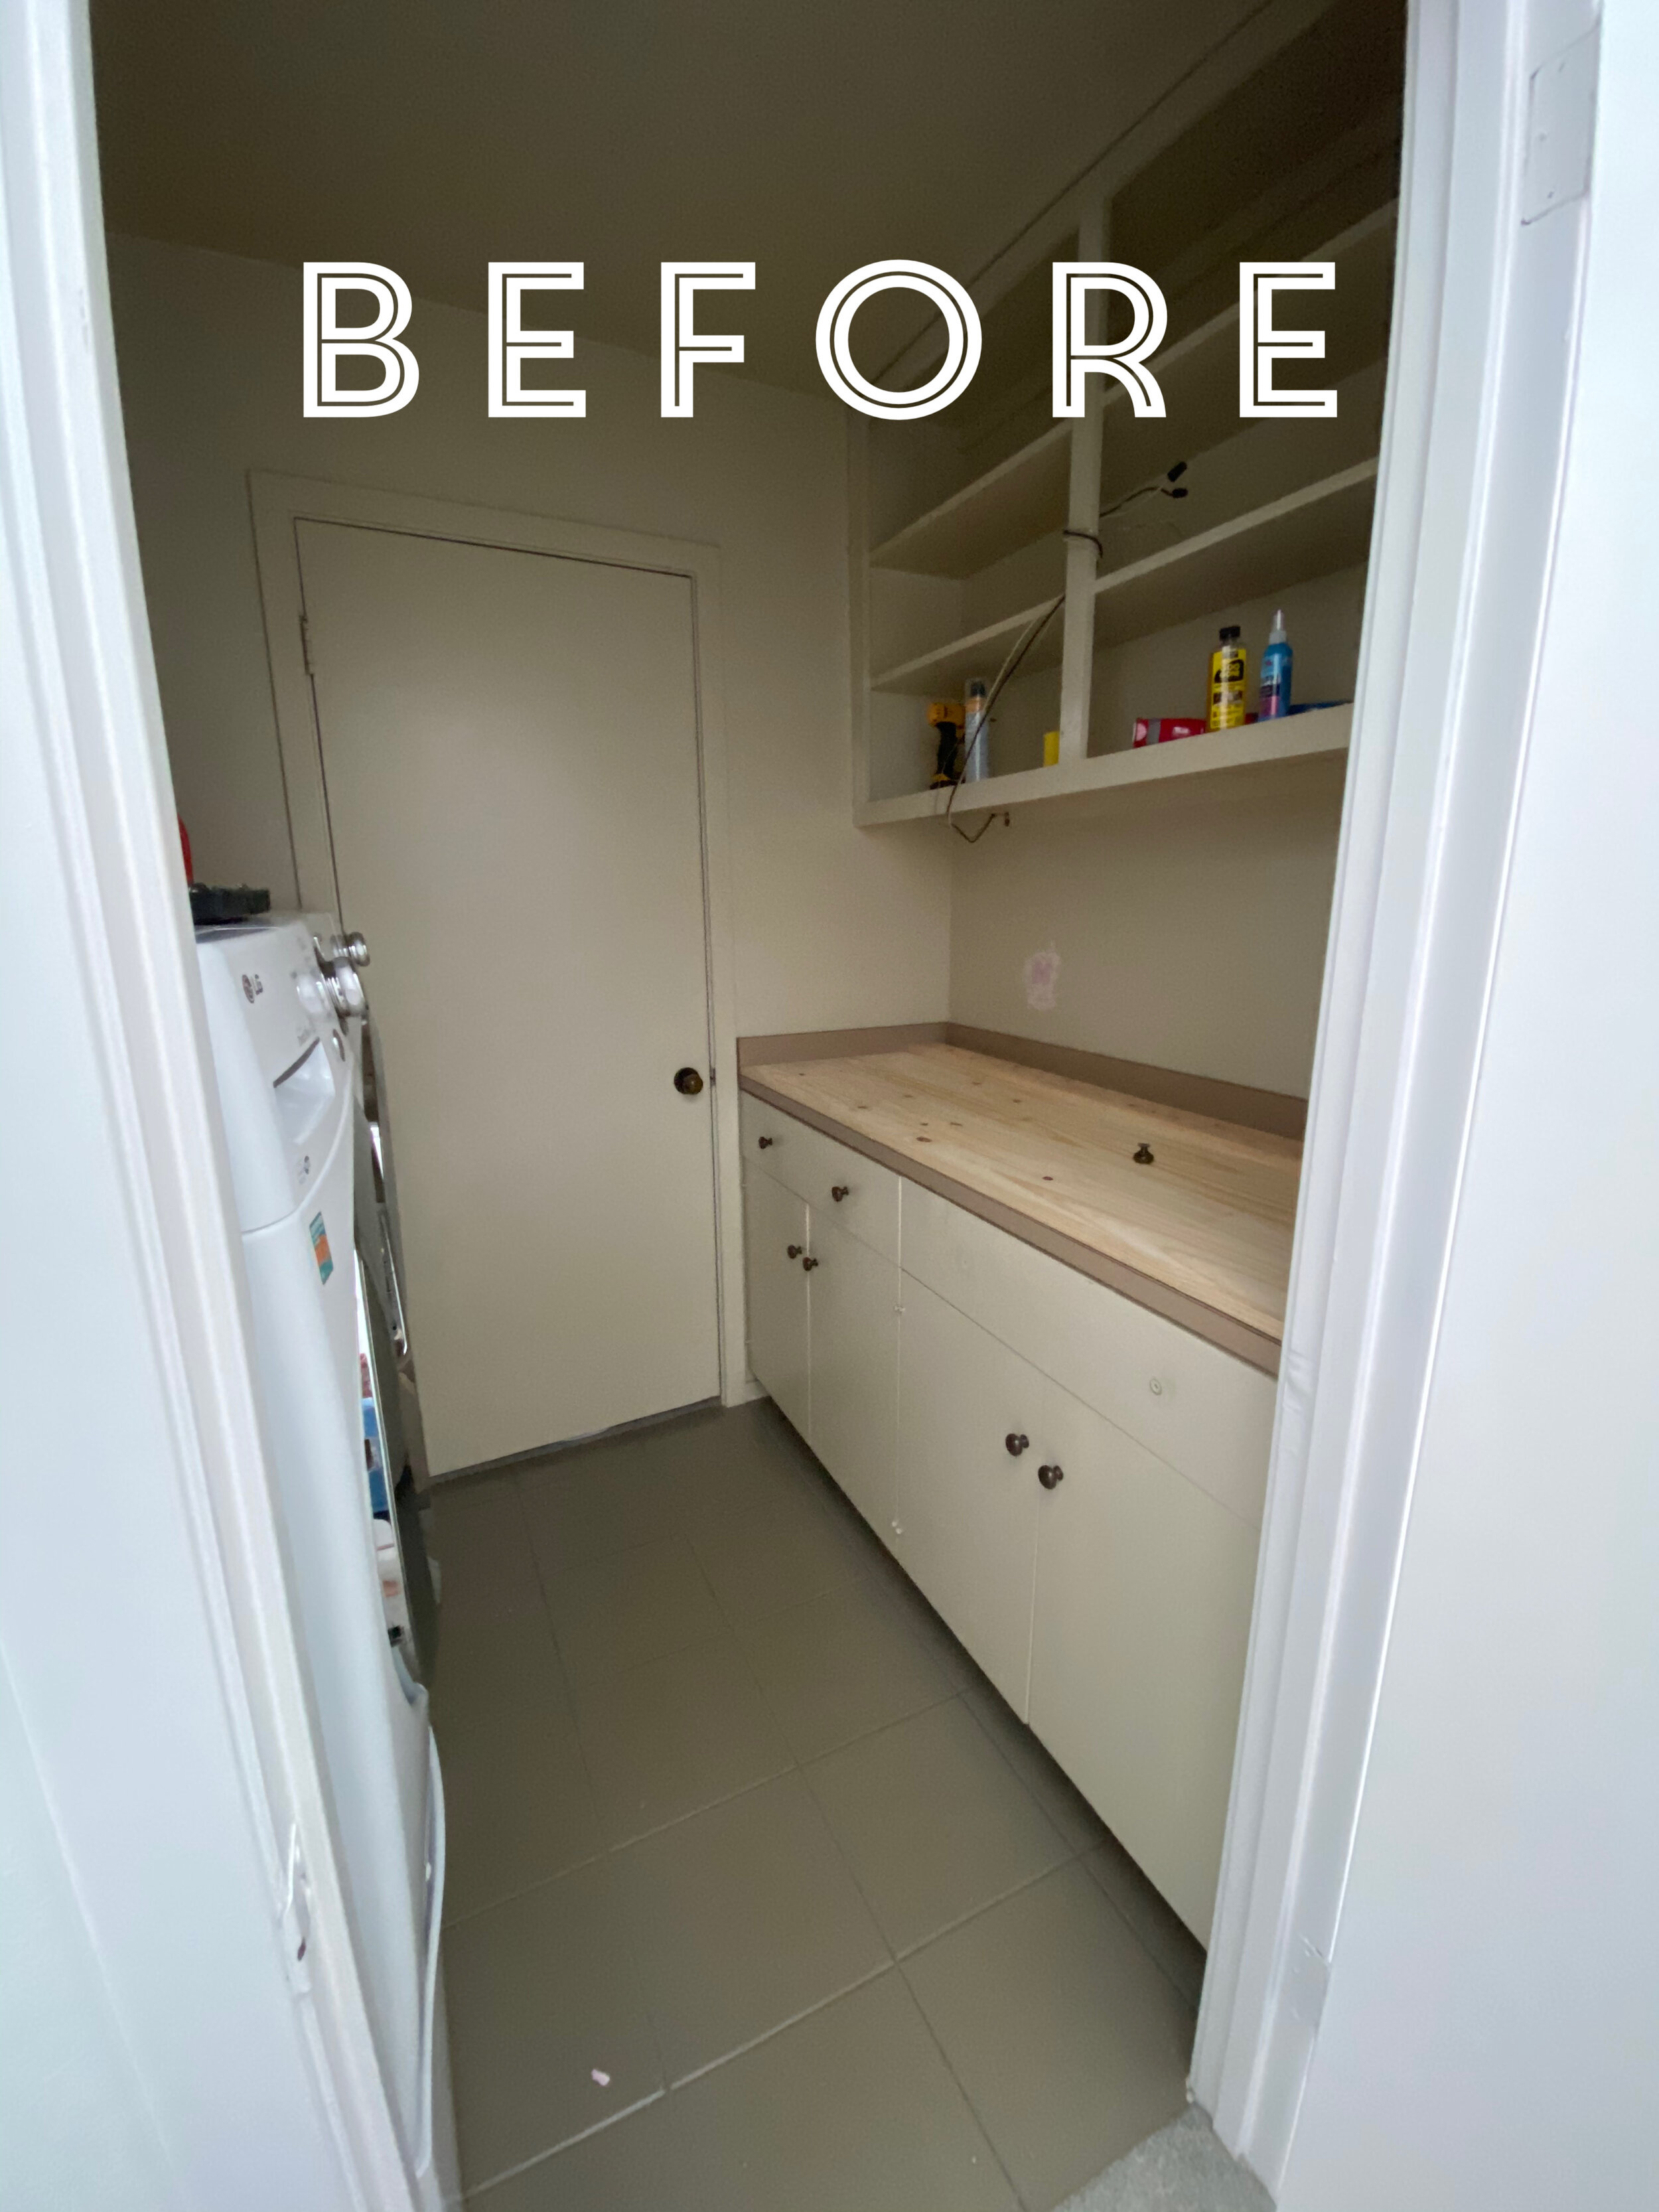
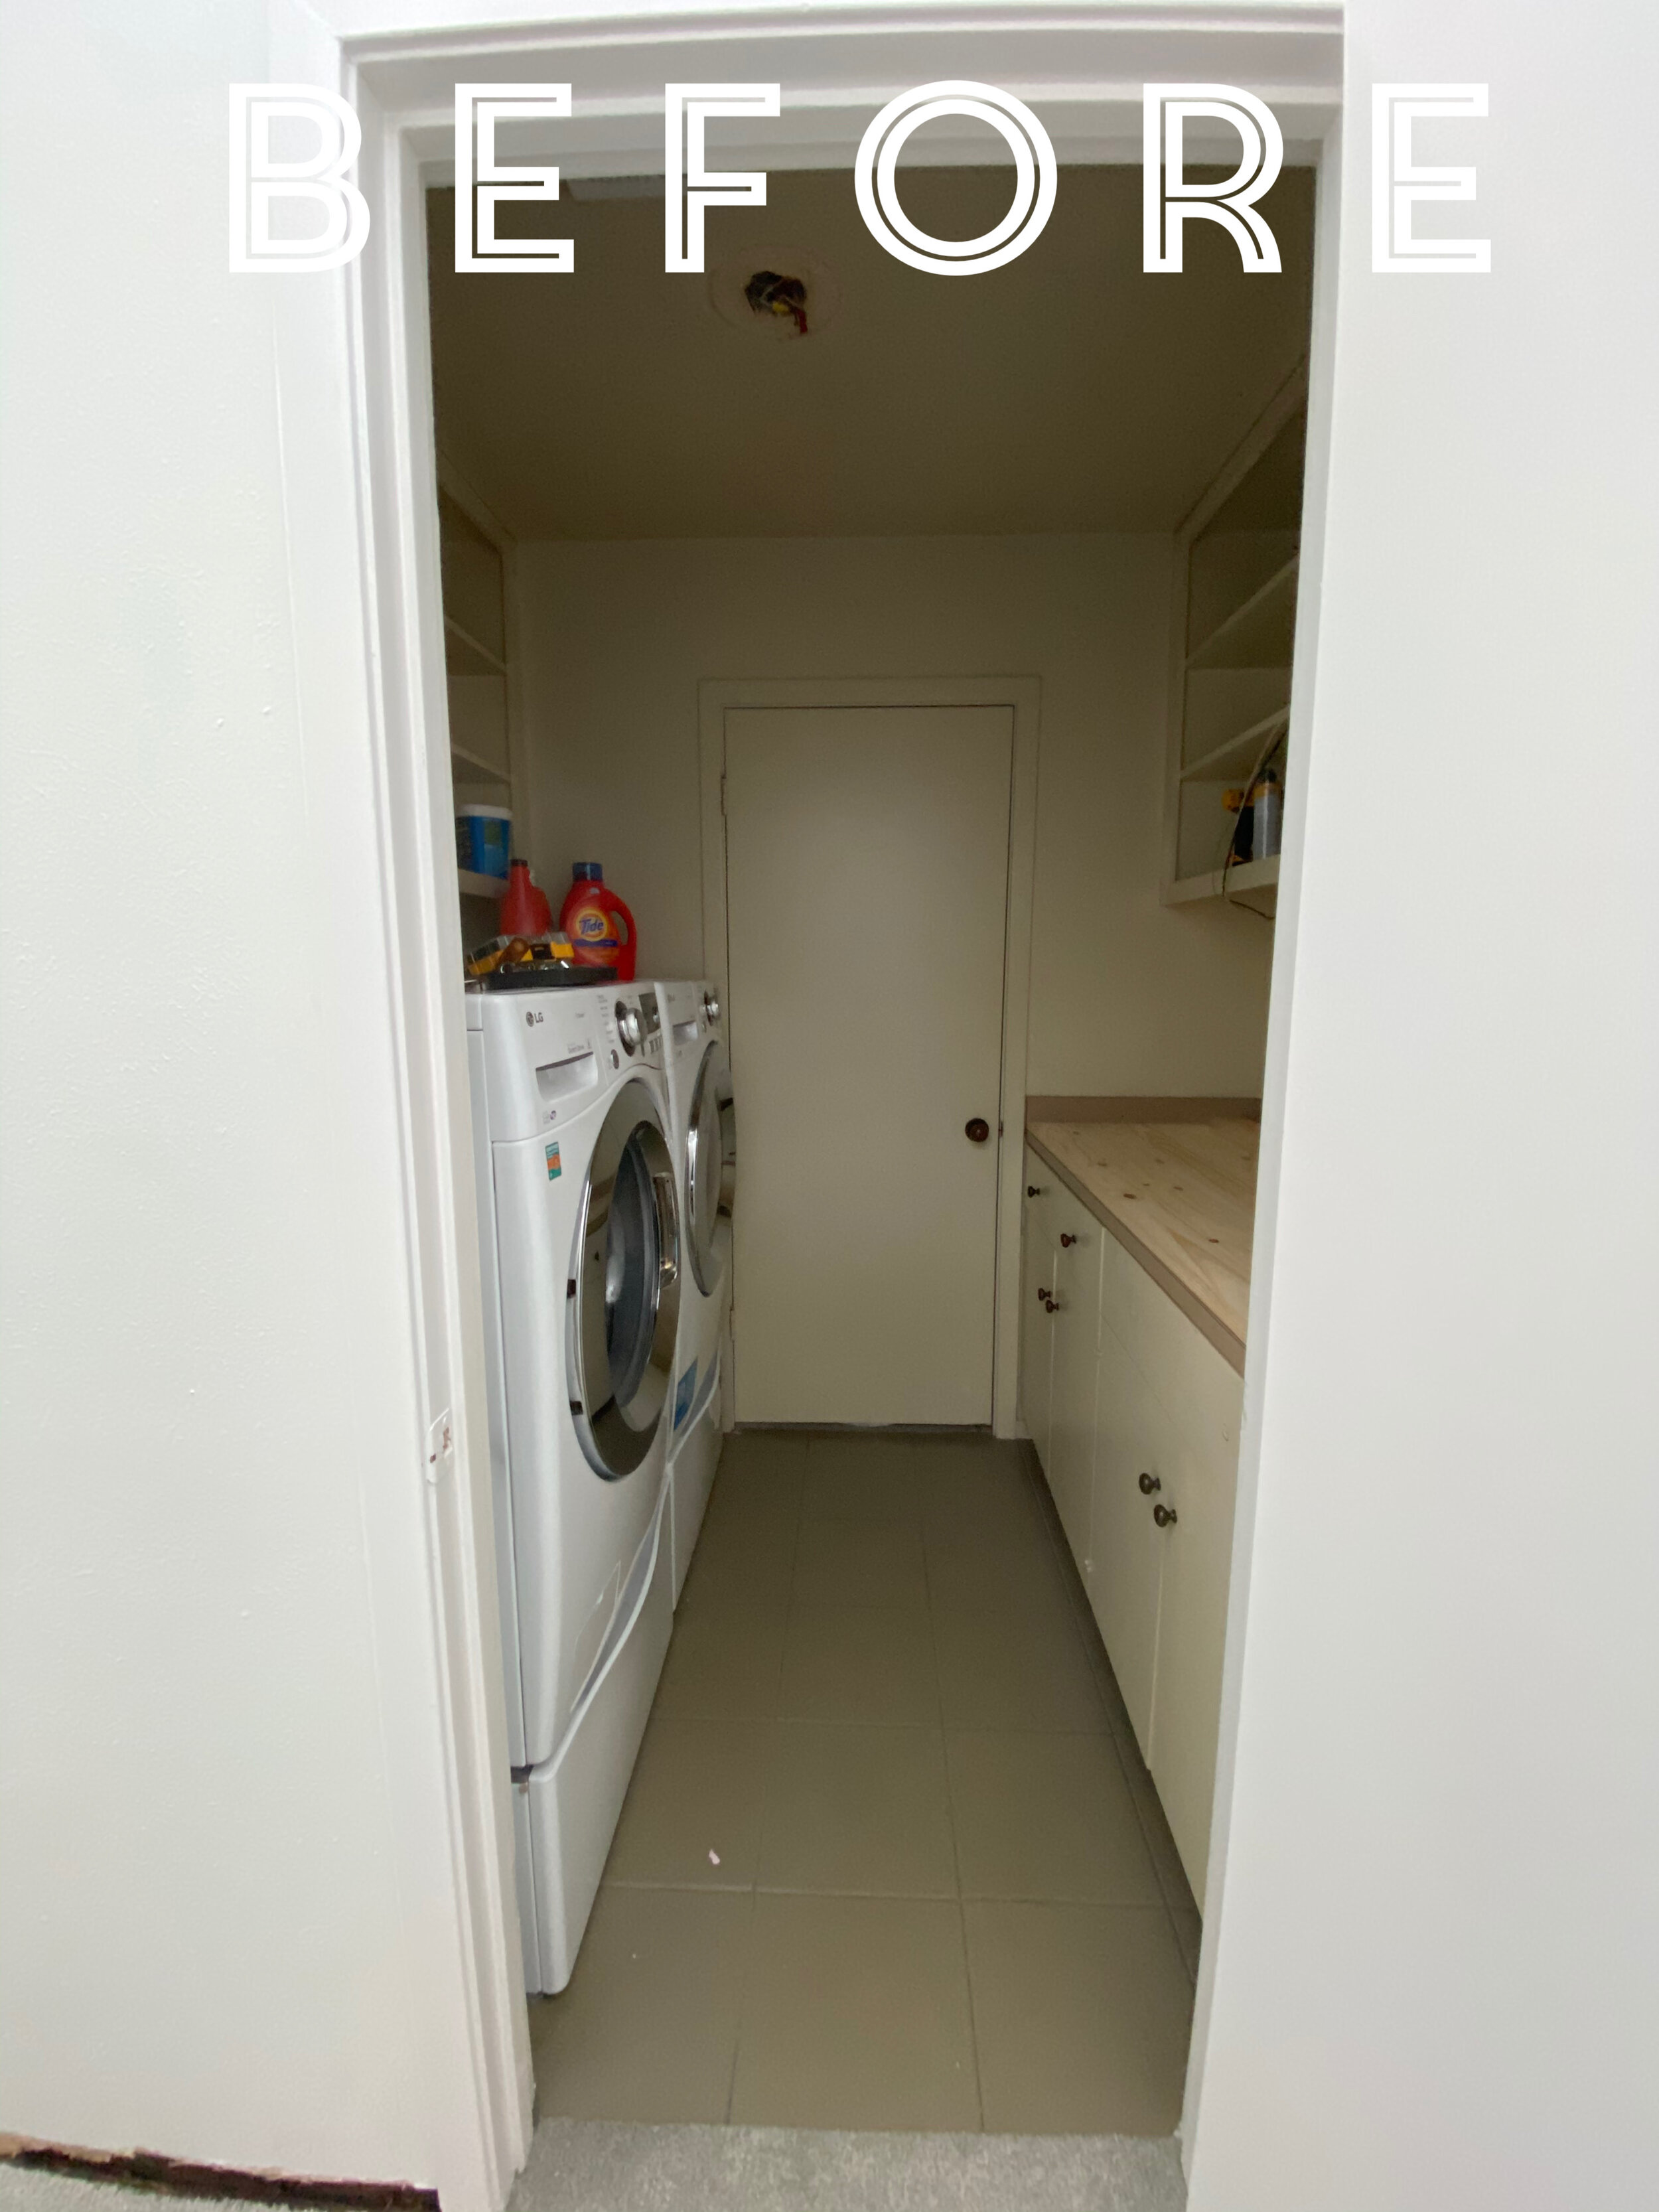
note: unfortunately I did not think to post about this fix-up until after we removed the cabinet fronts, so they are not in the before shots.